20. June 2021
Savage Model 1899 Bluing
Home Bluing
Of all of the gunsmith arts and sciences, bluing a firearm, the process of applying layer upon layer of controlled rust is one of the “arts”. Don’t get me wrong, there is a ton of science behind it, but when you break it down into steps, it’s the art that makes the difference. All my life I have used inexpensive “cold blue” for minor repairs and small parts like screws. The traditional “Hot Blue” methods require a ton of expensive equipment including vats of chemicals and distilled water boiling over gas burners that put it out of reach, financially and practically, for the home gunsmith who wants to blue 3-4 guns a year.
Enter Rust Blue
I found great instruction from Mark Novak and Bob Veasey and the right chemistry from Bob Veasey at Rust Blue. (In fact everything Mark produces on his YouTube channel is gold!) The tools and techniques are attainable for mere mortals. One of the things my host father taught me how to condition metal and how to prepare a gun for the bluing process, that hasn’t changed. If the metal is crap, the finish will be crap. Technology and chemistry have come a long way. The internet has helped to bring “like minded” folks together that are interested in conserving these beautiful antiques. With the excellent instruction from my host father (a gunsmith), Mark, and Bob I set off to use Bob’s American Blue formula for my Savage Model 1899.
Tools and Supplies
- Rust Blue Solution
- Degreasing materials
- Vapor Closet (a box)
- Vaporizer
- Heater
- Steamer Assembly
- Carding Wheel, Brushes, Steel Wool
- Gloves, Eye Protection, Etc.
I mentioned Bob Veasey at Rust Blue, I used the Rust Blue American for my project, but they have several options depending on the firearm and the look you are working on. My next project is a Damascus barrelled black powder shotgun. I am going to use the Rust Blue Damascus. Choose what works for you.
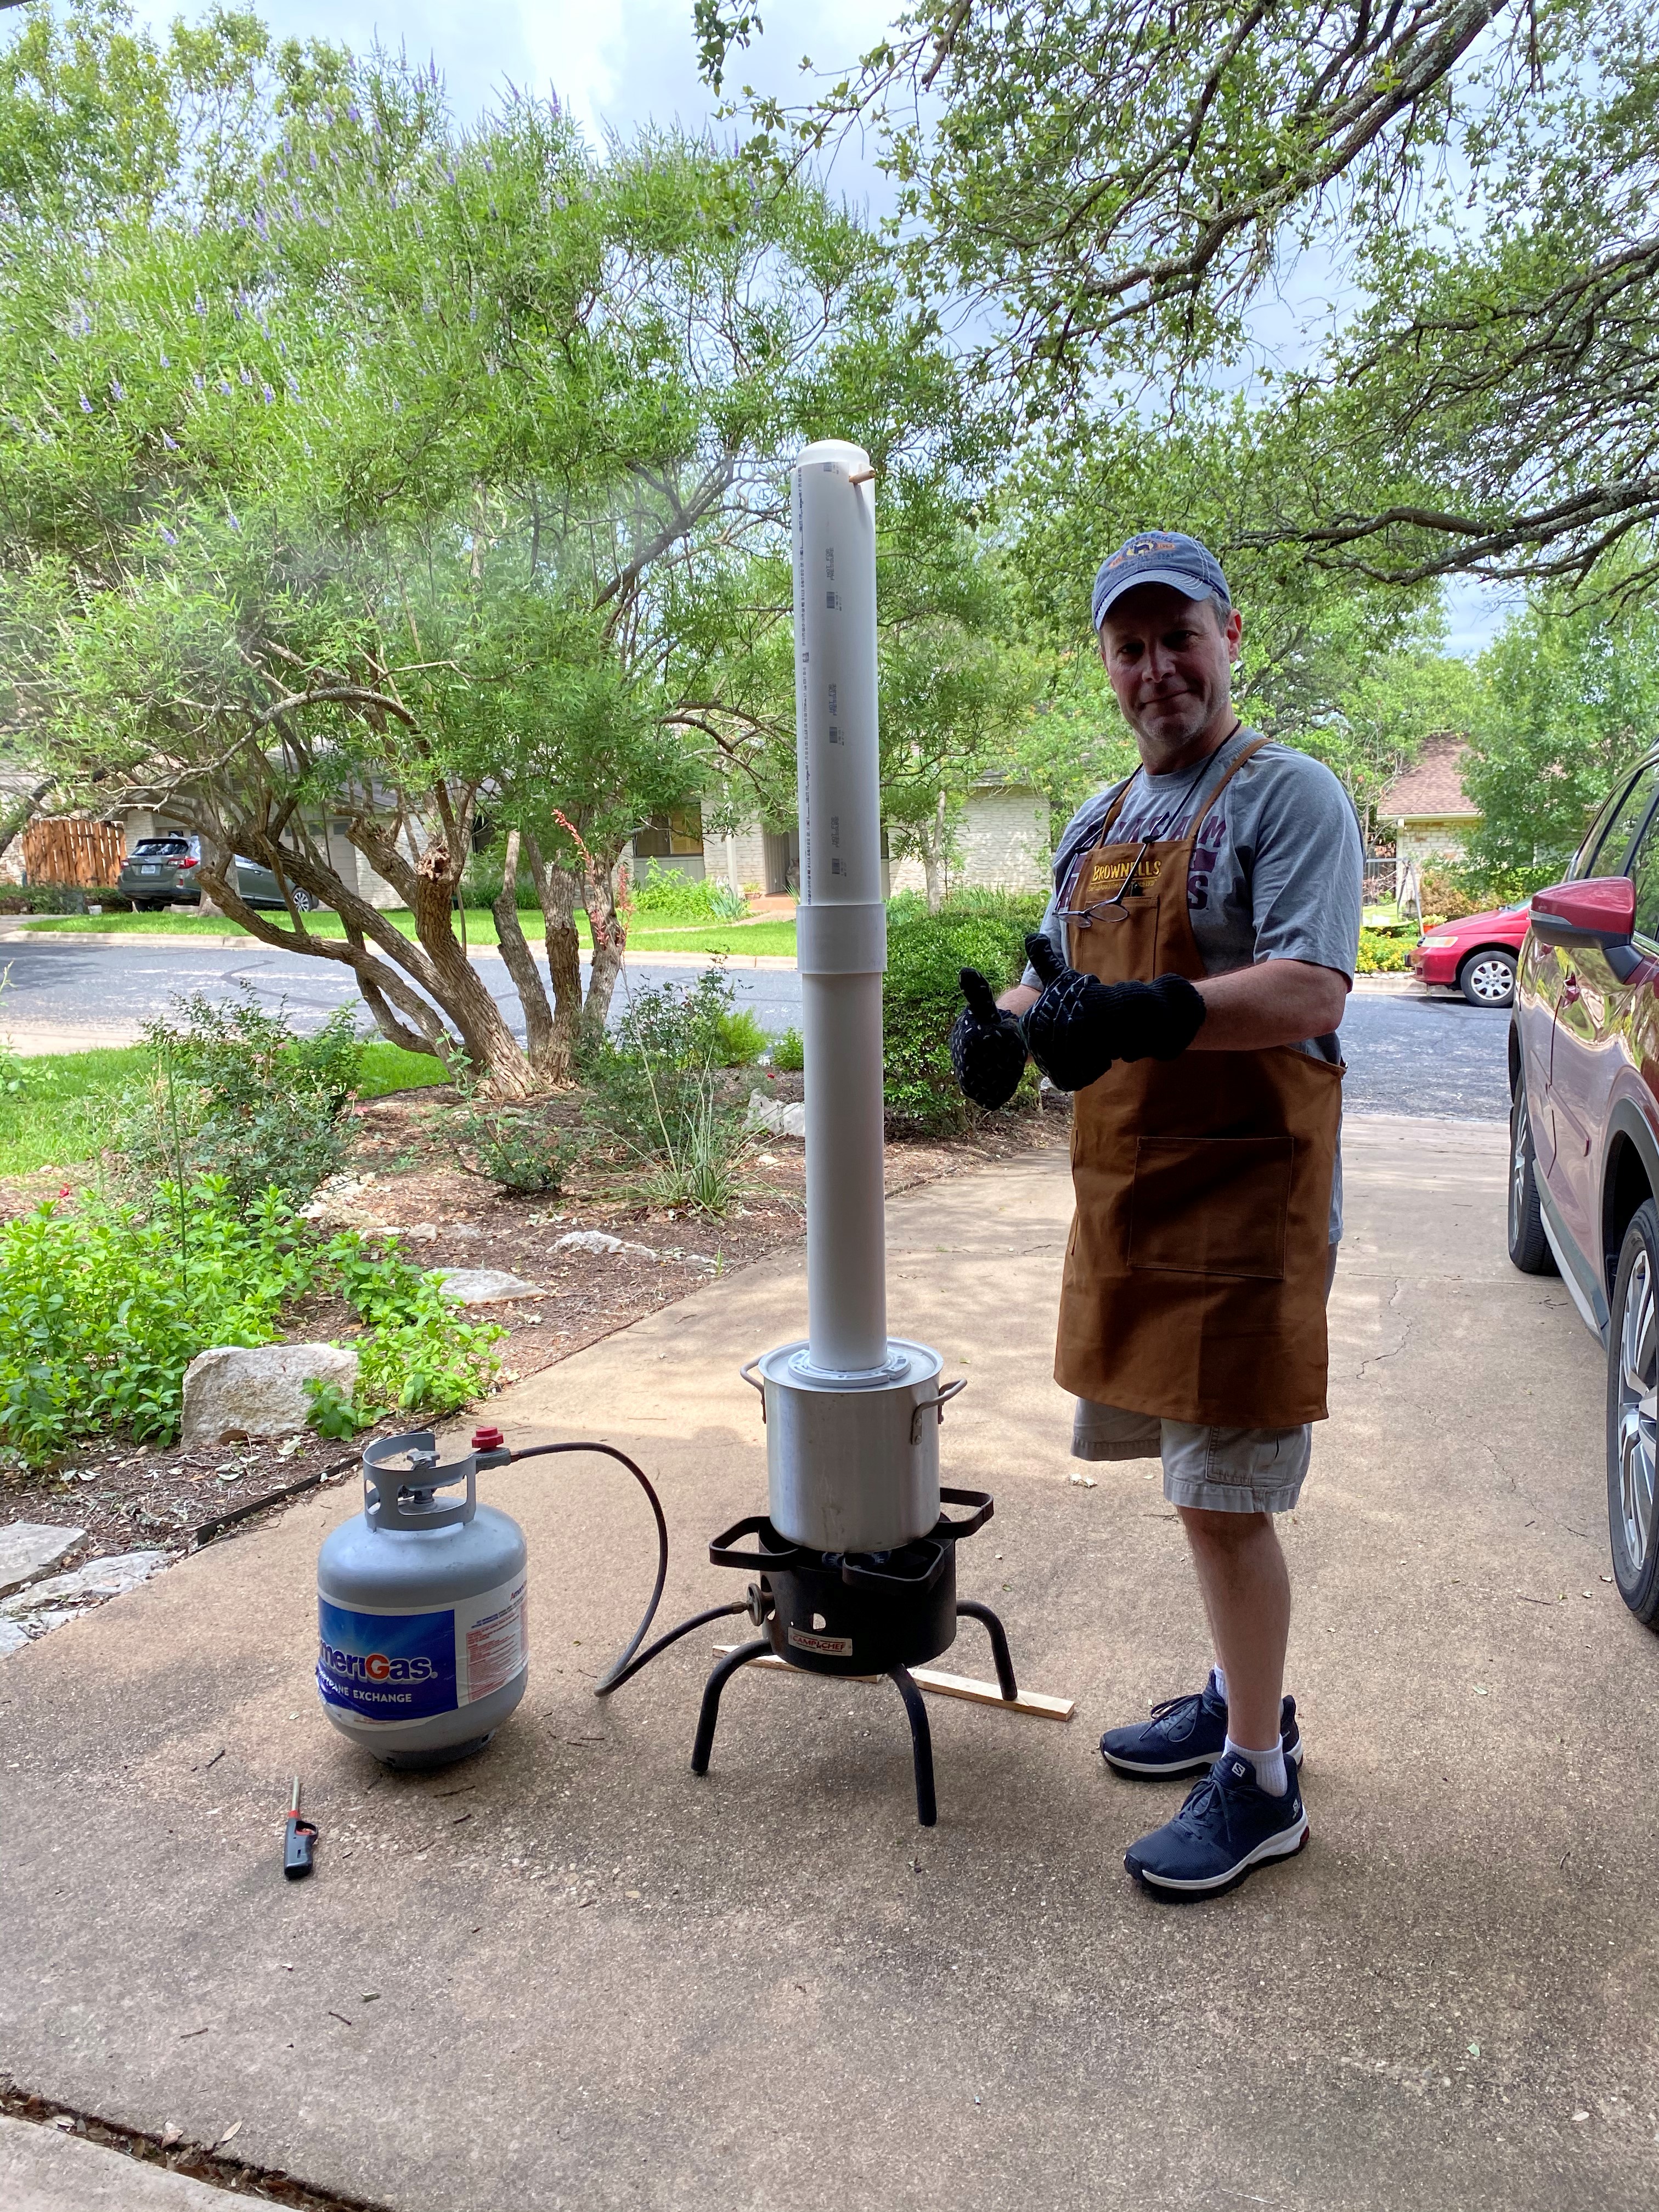
The vapor closet is for warming the metal above the dew point and then “fogging” the metal for 60-90 minutes (depending on your results) in a controlled environment. You could construct a permanent cabinet, but a cardboard box works just fine. I bought the vaporizer and ceramic heater from Goodwill for $7. The steamer assembly was built from a pot and burner assembly (in the south affectionately known as a “turkey fryer”). The 4" cellular core pipe was obtained from Home Depot.
Carding, the process of removing the loose rust and leaving behind the blue, can be performed by hand or with a “carding wheel”. By hand you can use degreased #000 or #0000 steel wool. I found it much easier to use carding brushes and a carding wheel purchased from Brownells. Note: these are very soft brushes built specifically for this purpose. They are NOT the same as the “wire wheel” brushes used on many grinders for heavy duty rust removal. You can pass your bare hand through them without injury.
Process
Initial Prep
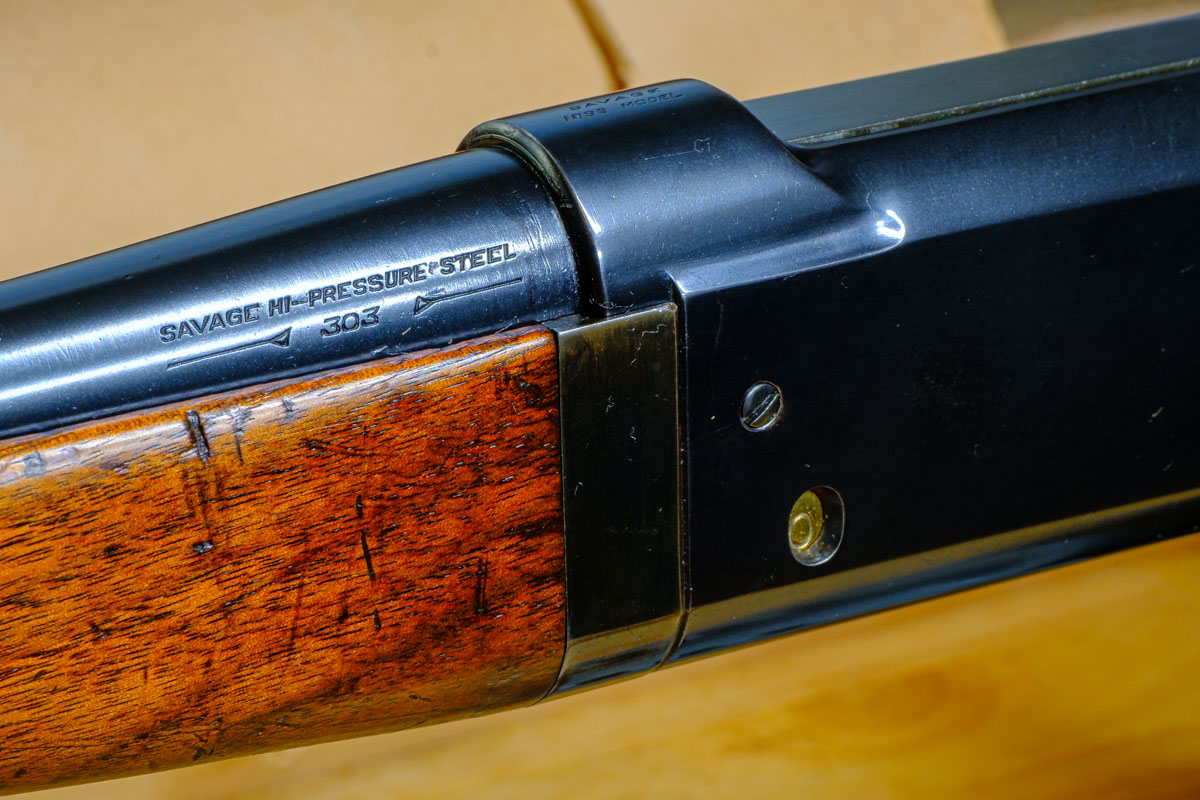
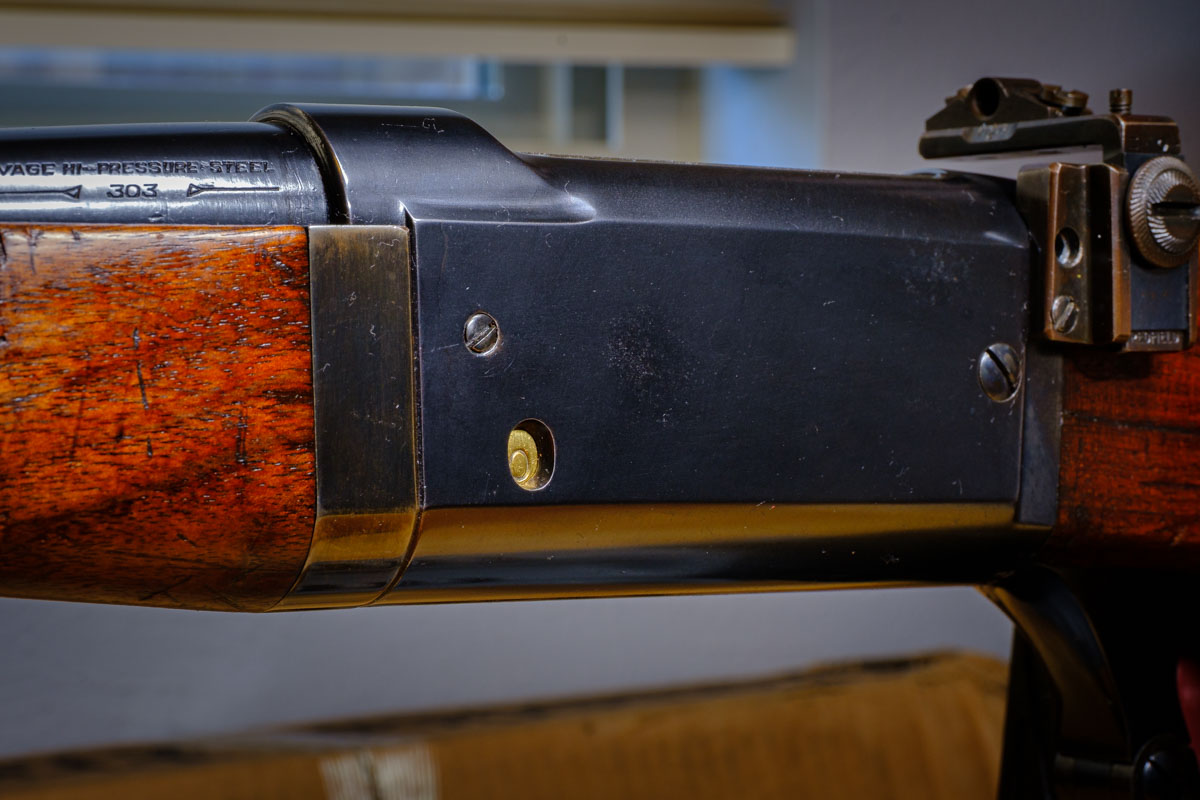
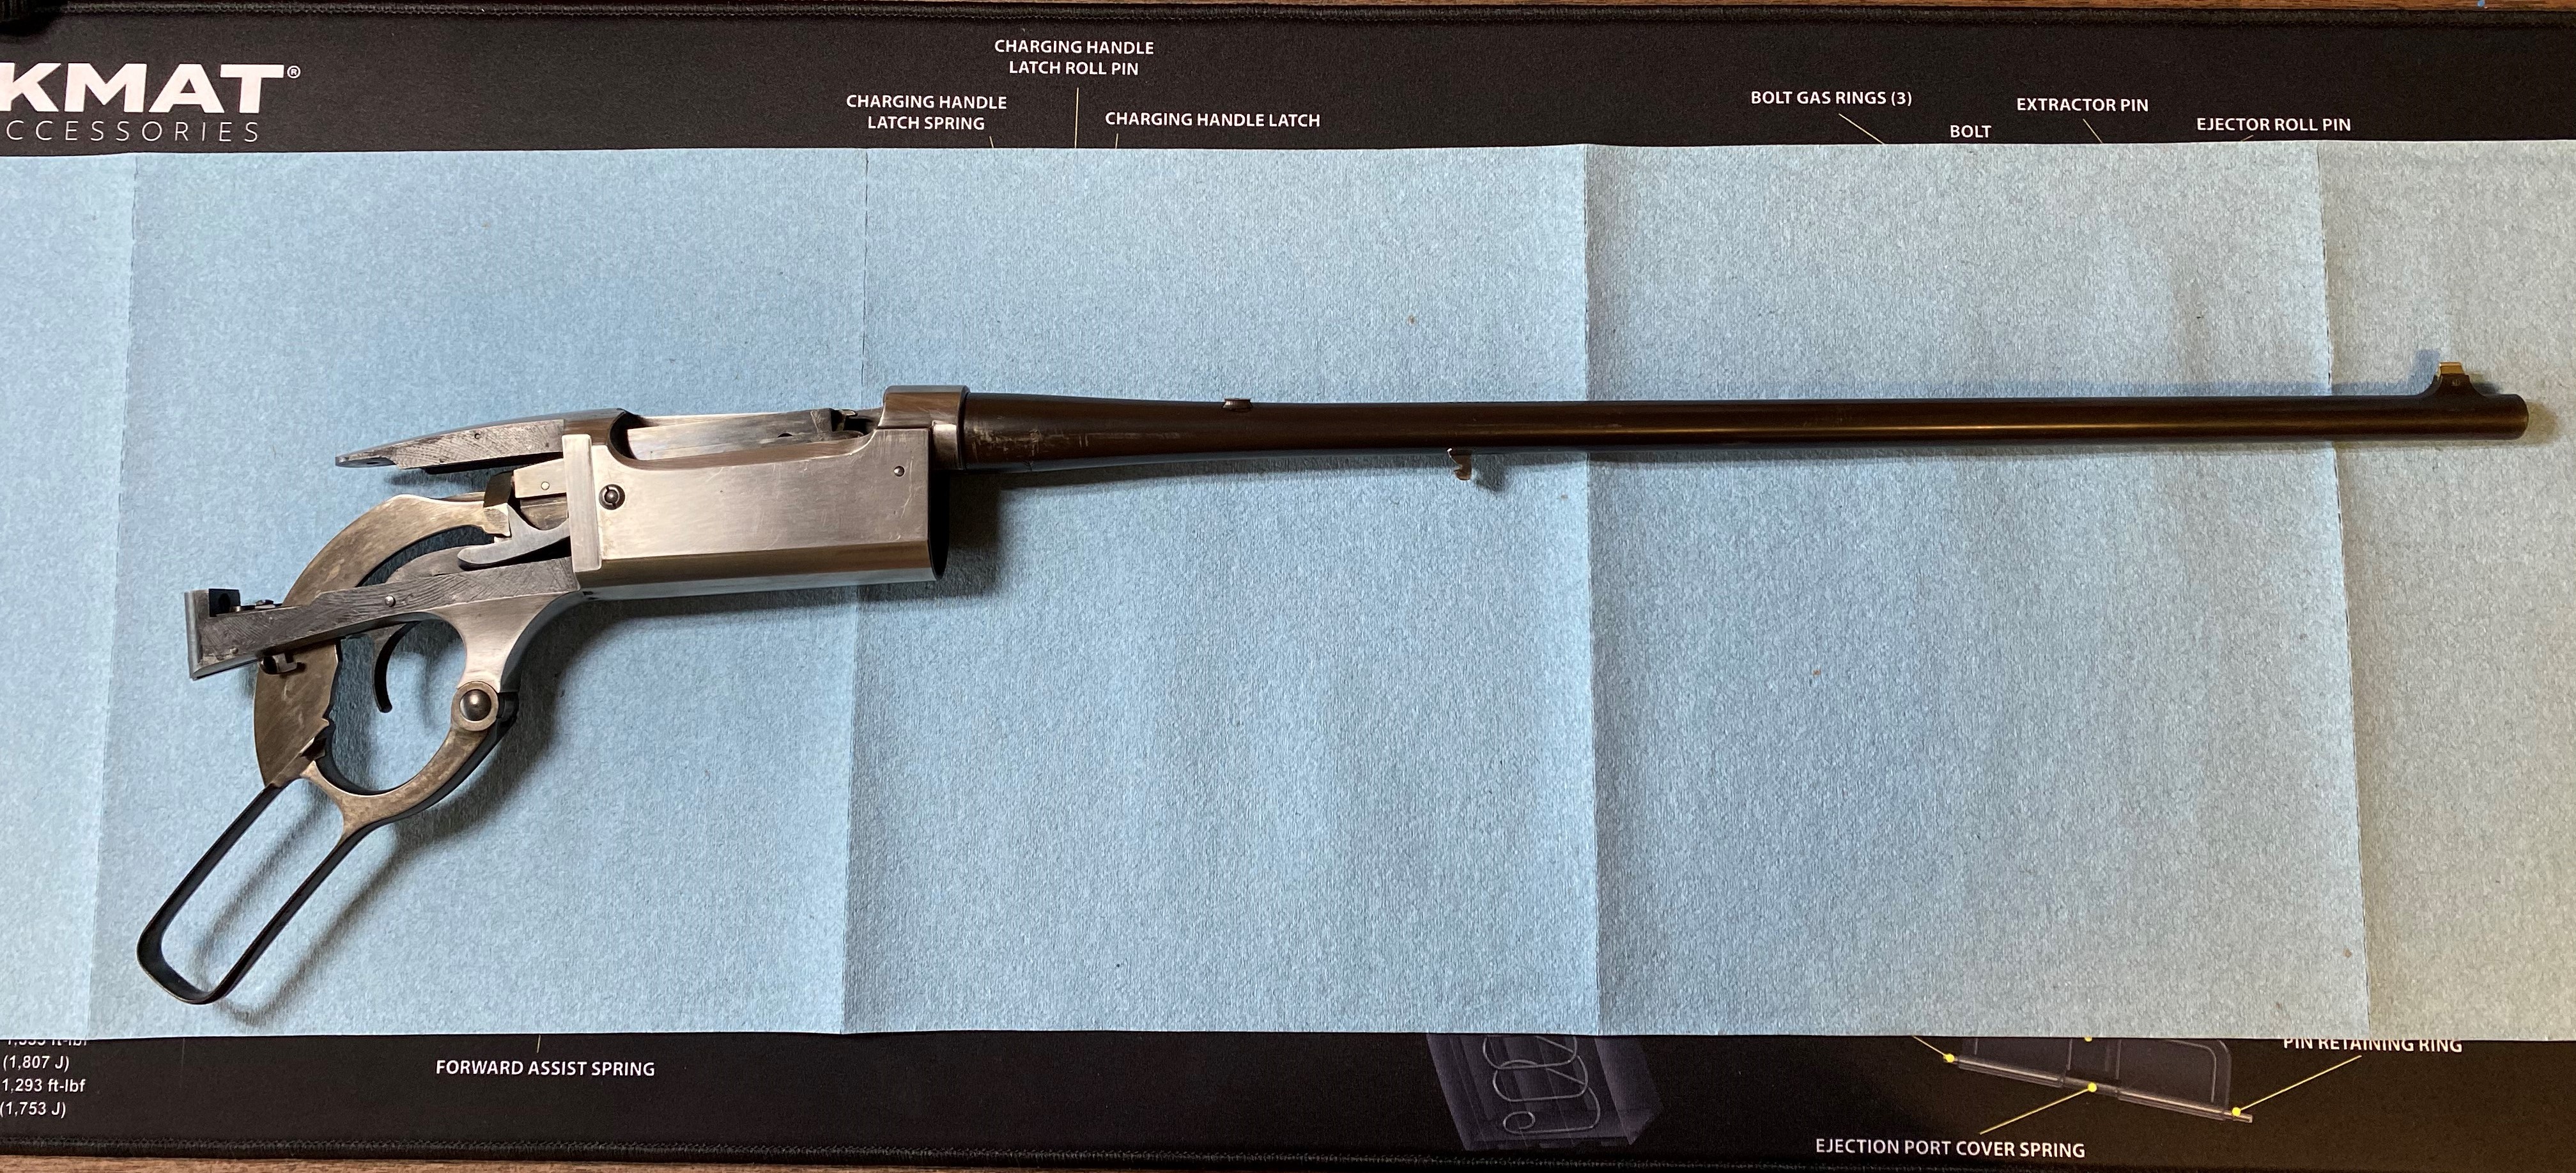
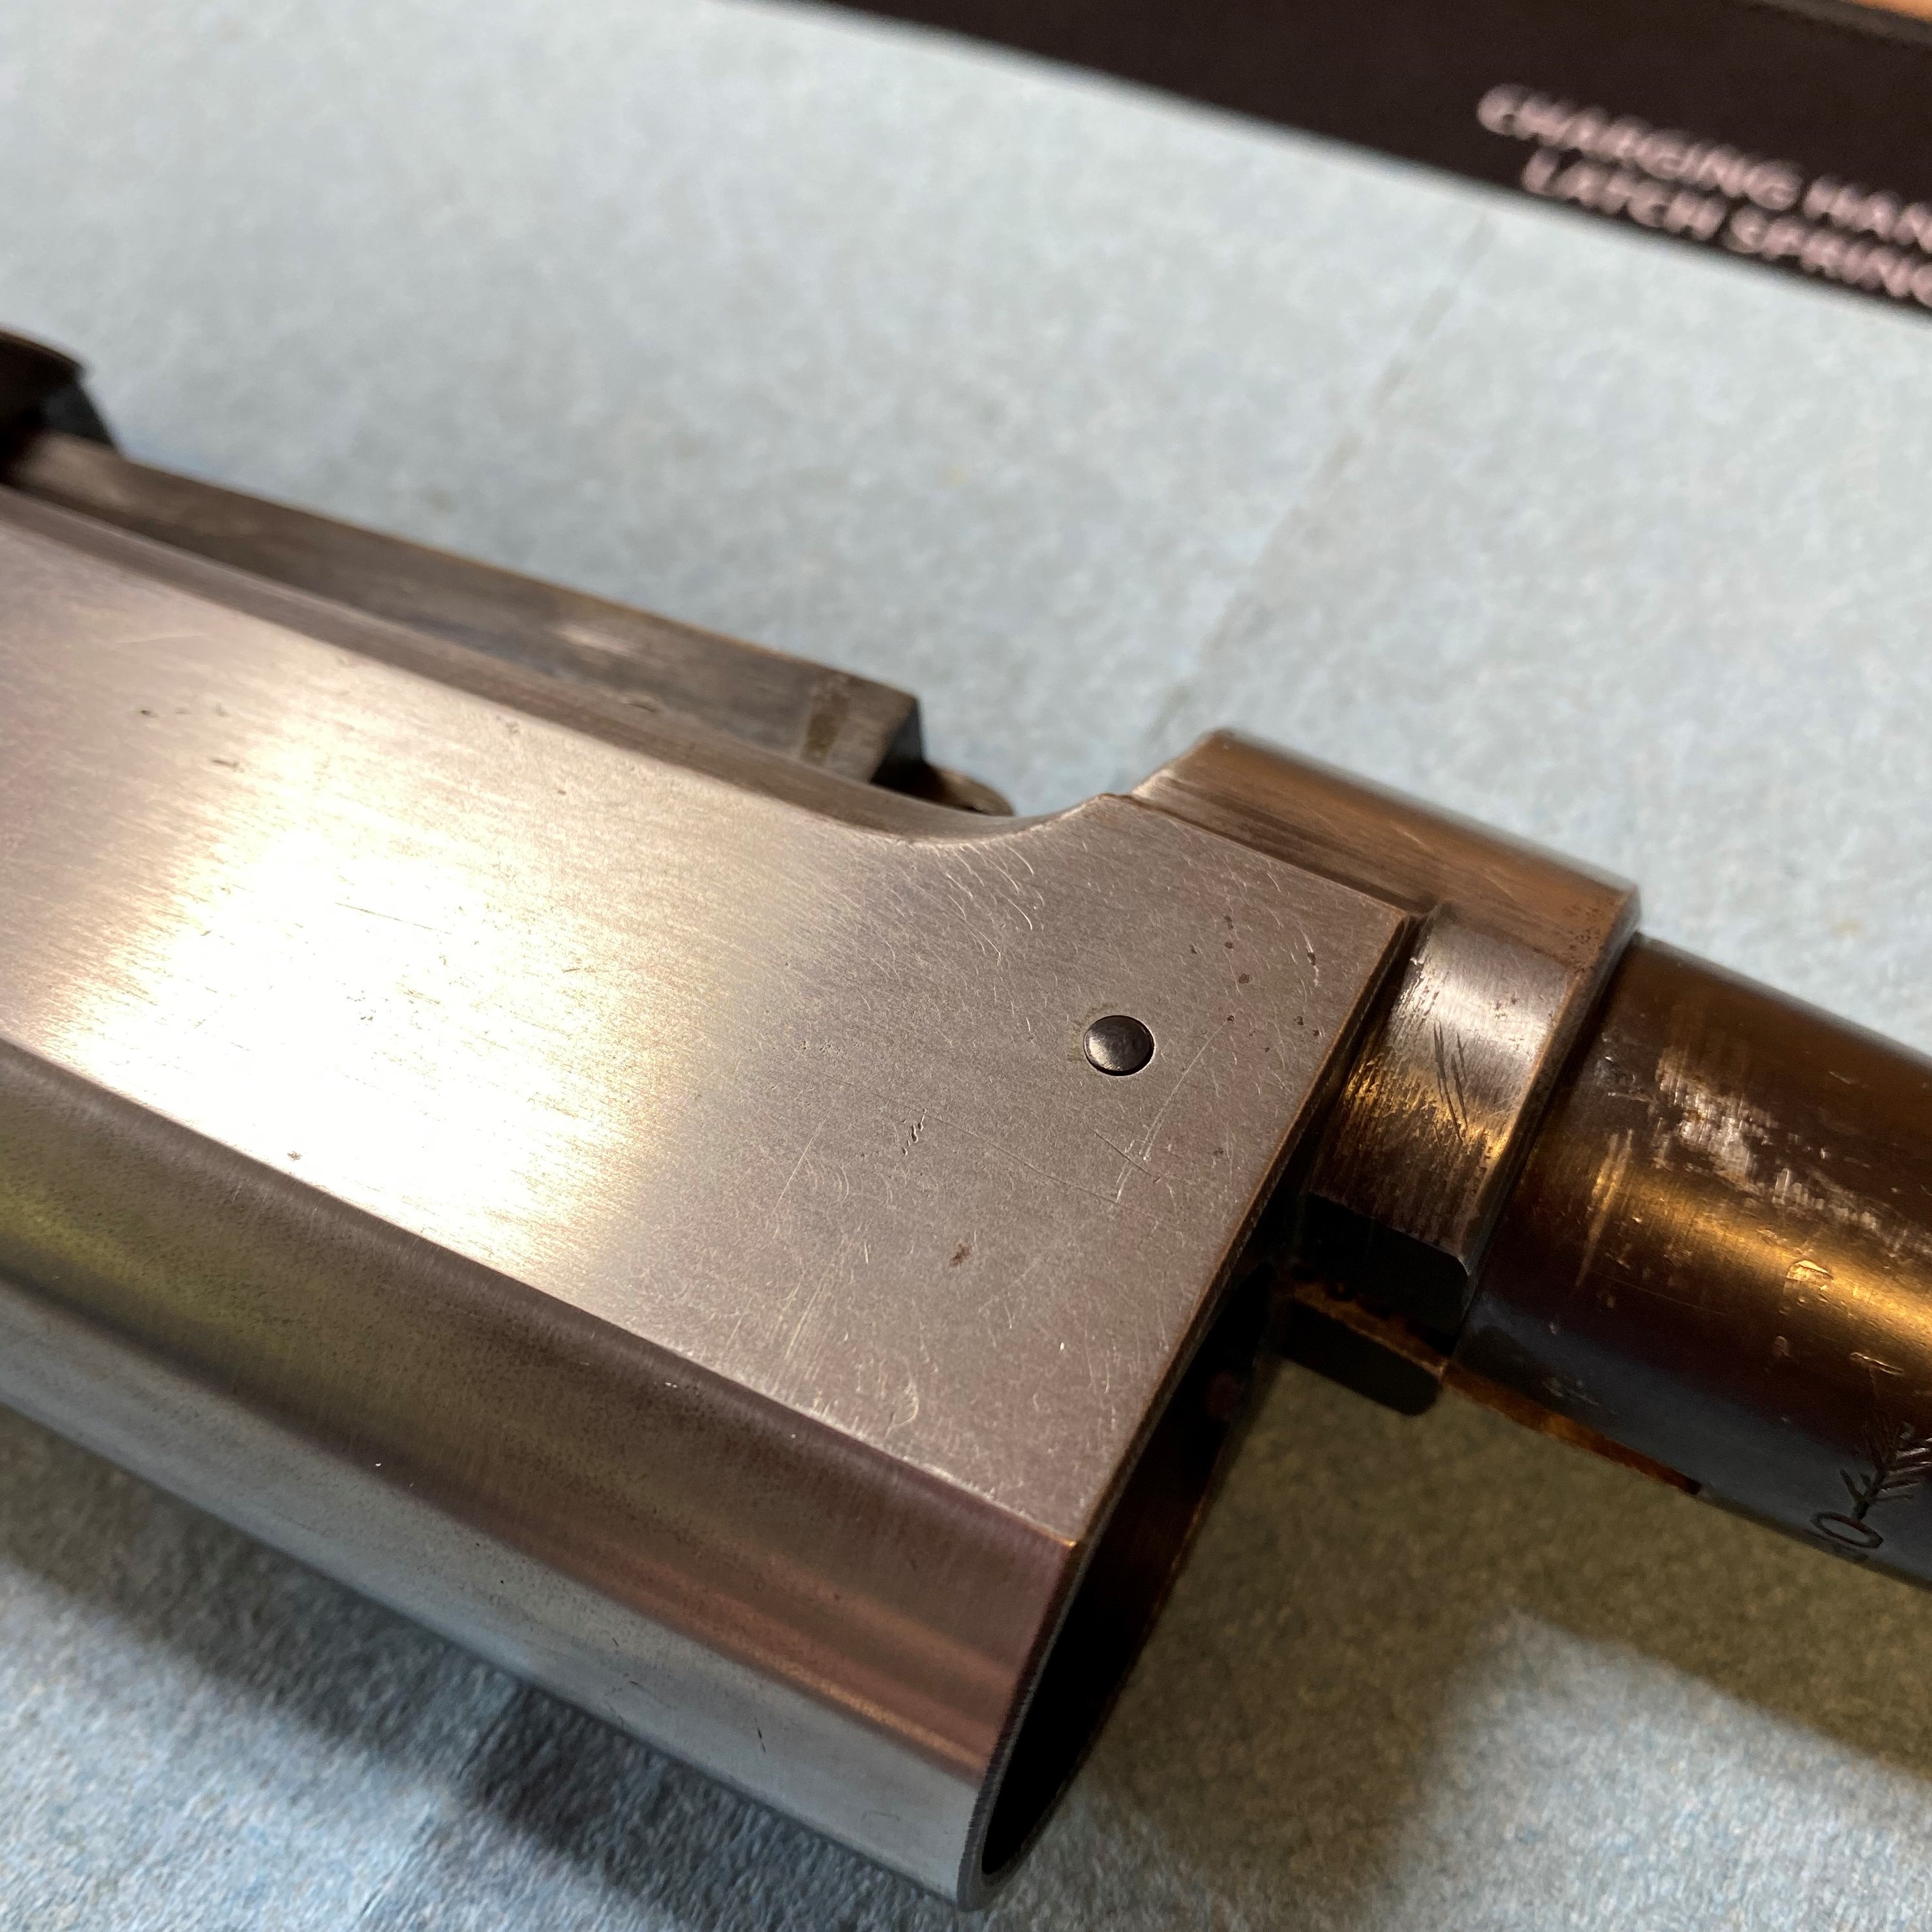
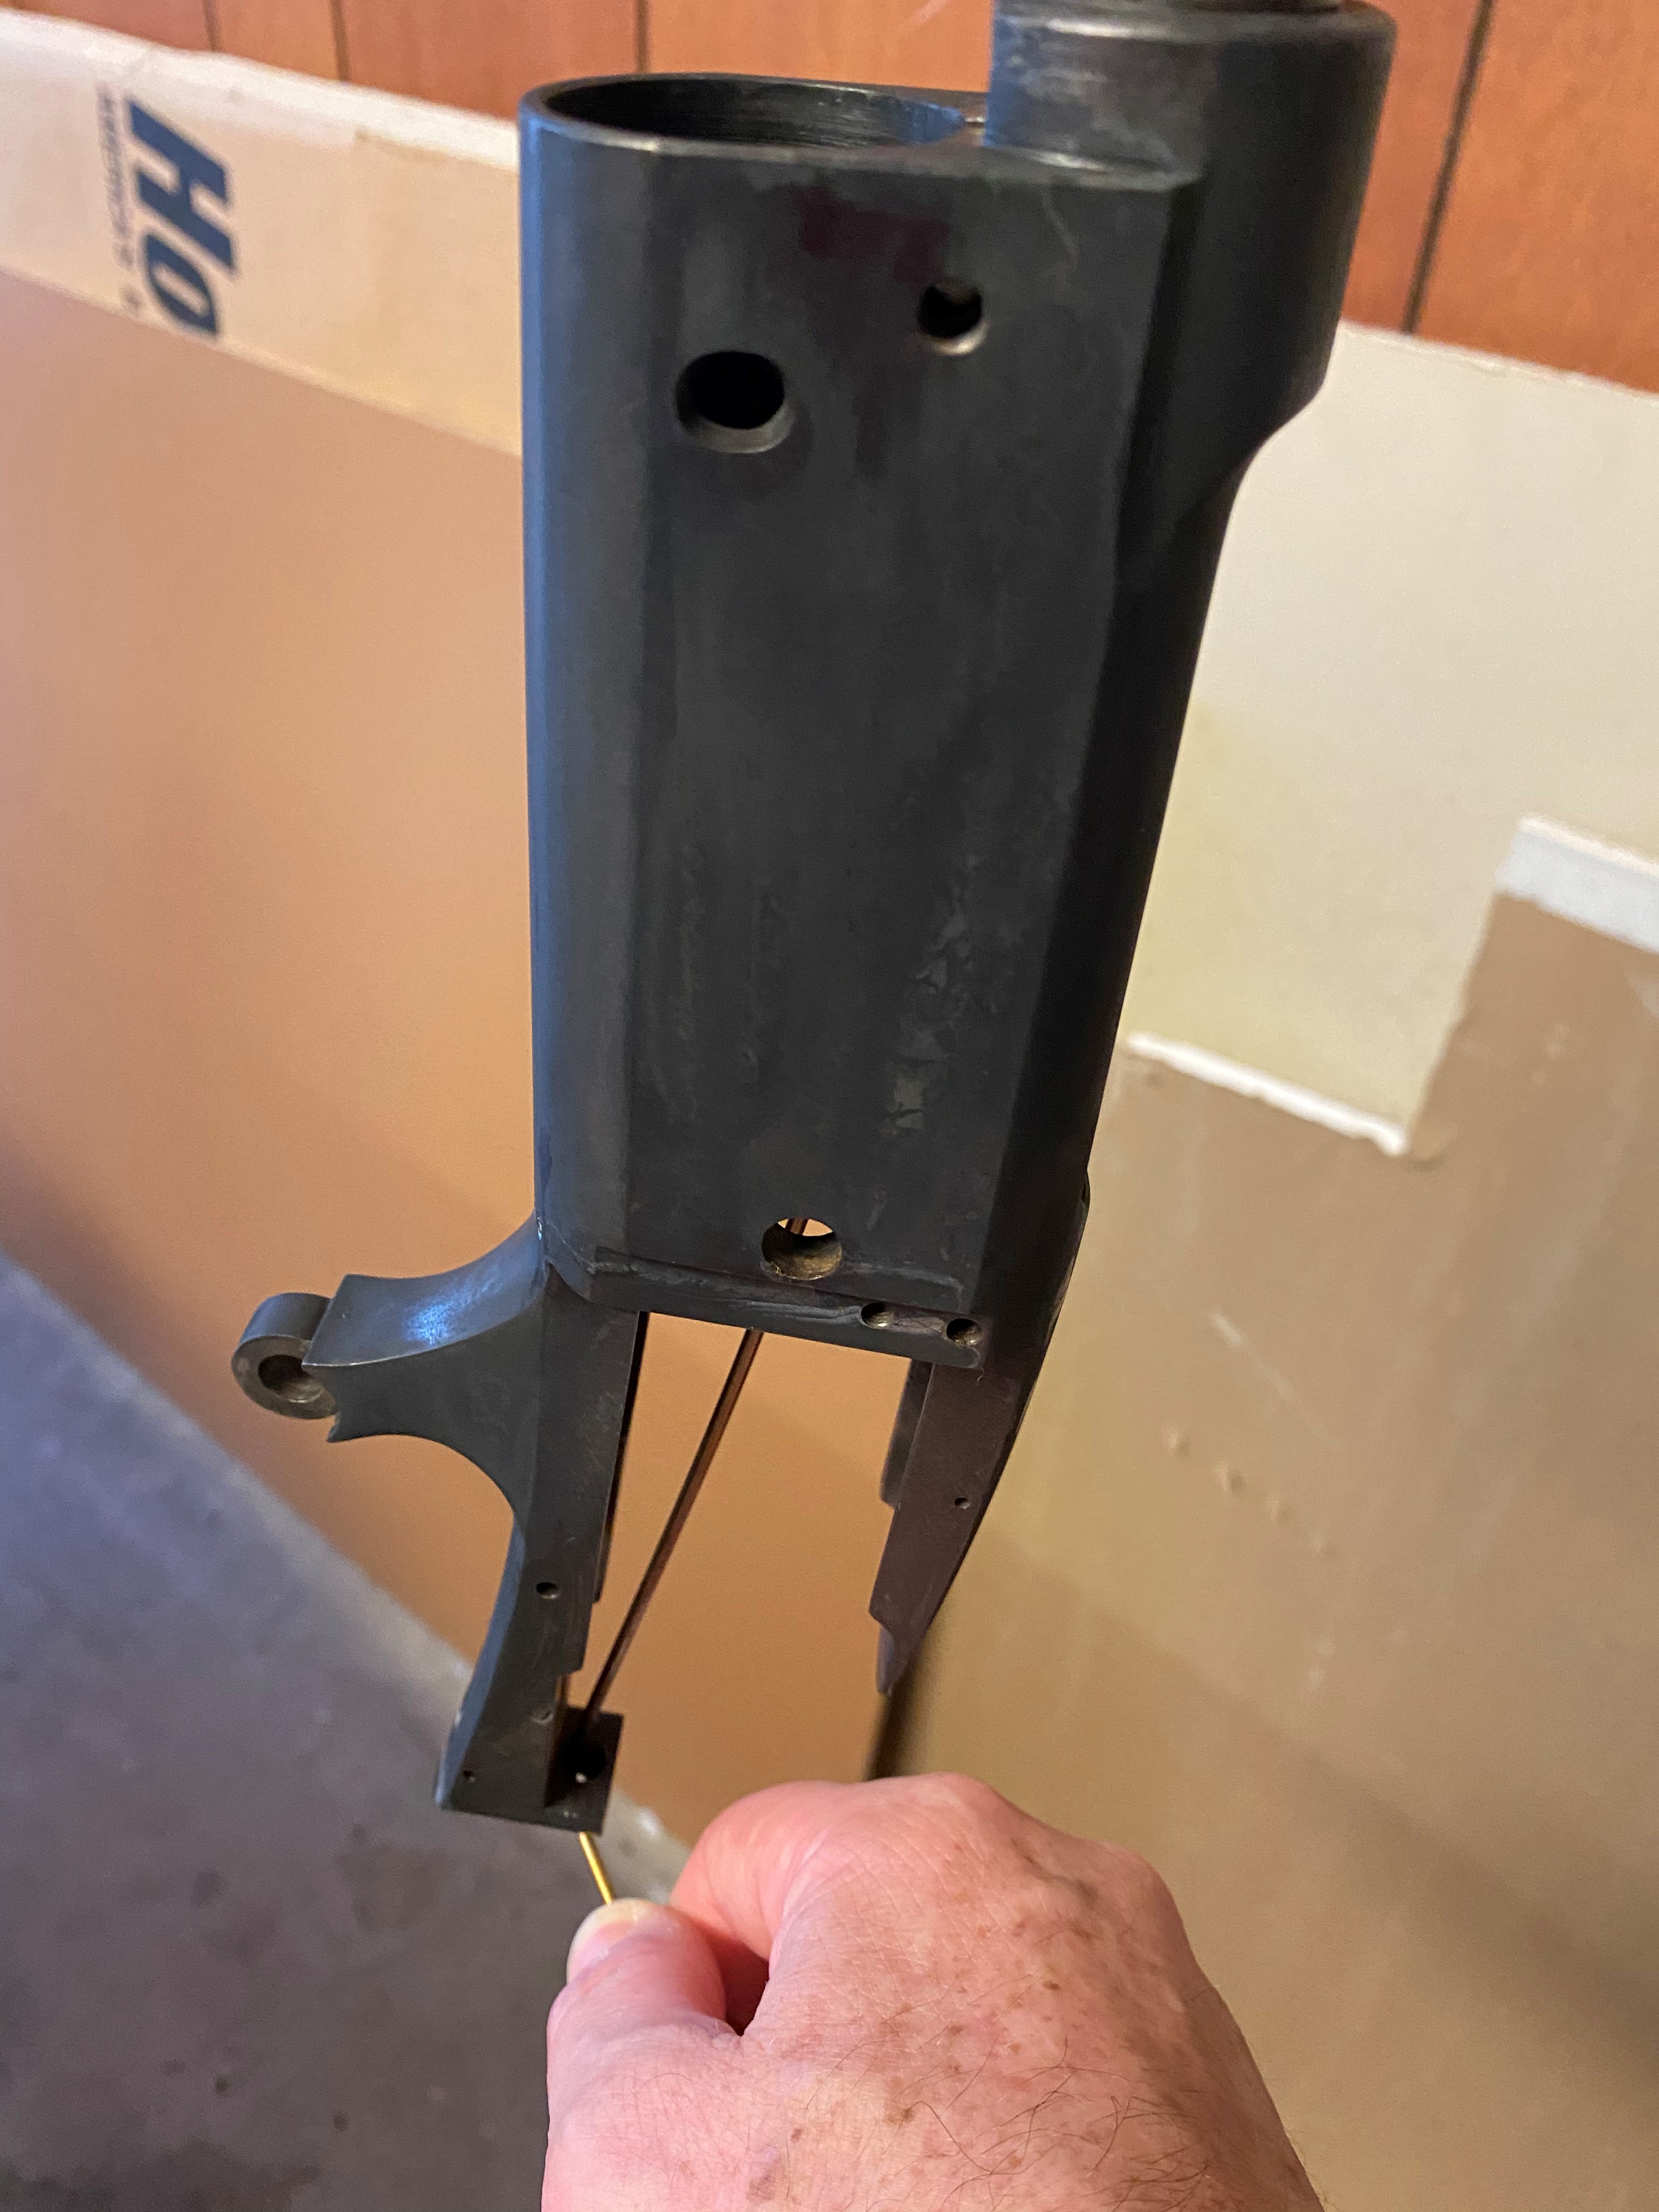
- Disassemble, clean, prep, clean, clean, clean the firearm. In my case I had to take the receiver to white steel years ago to stop the rust that I inherited along with the rifle. The barrel was in good shape.
- Steam the parts for 10 minutes to convert what blue remains. This process is used by Mark Novak in his conservation efforts. We’re not trying to remove all of the old blue. It is in reasonable shape and just needs a bit of a boost.
- Cool and card the parts.
- Degrease, degrease again…and again.
- Apply Rust Blue sparingly. Let it sit as a “primer coat”. Let dry.
Bluing Passes
Once the metal is “primed” you will follow the next steps over and over until you have the finish you desire. Each time through it one “pass” (think “Lather, Rinse, Repeat”)
- Coat the metal with a thin coat of rust blue
- Warm the metal in the vapor box for 10 minutes (my temp was 130°F)
- Vaporize the metal to get the rust to grow. I got best results at 90 minutes. Be cautious when you start. You want fine rust, you do not want it to pit.
- Steam over gently boiling water for 10 minutes.
- Cool and card off the surface rust.
- Determine if another pass is needed.
- Degrease and start again.
In my case I did 4 passes on the barrel and 5 on the receiver. If you think you are done, do one more pass. Once you are done, coat everything you blued with used motor oil or any non-detergent oil. I applied “used” motor oil from an oil change, the used oil has all the detergent burned out of it. This process deepens the blue. Do not use “gun oil” or anything with a rust inhibitor. You want the finish to “set” you are not trying to deter the rust…not yet. This is the longest 24 hours for an eger gunsmith.
In the white
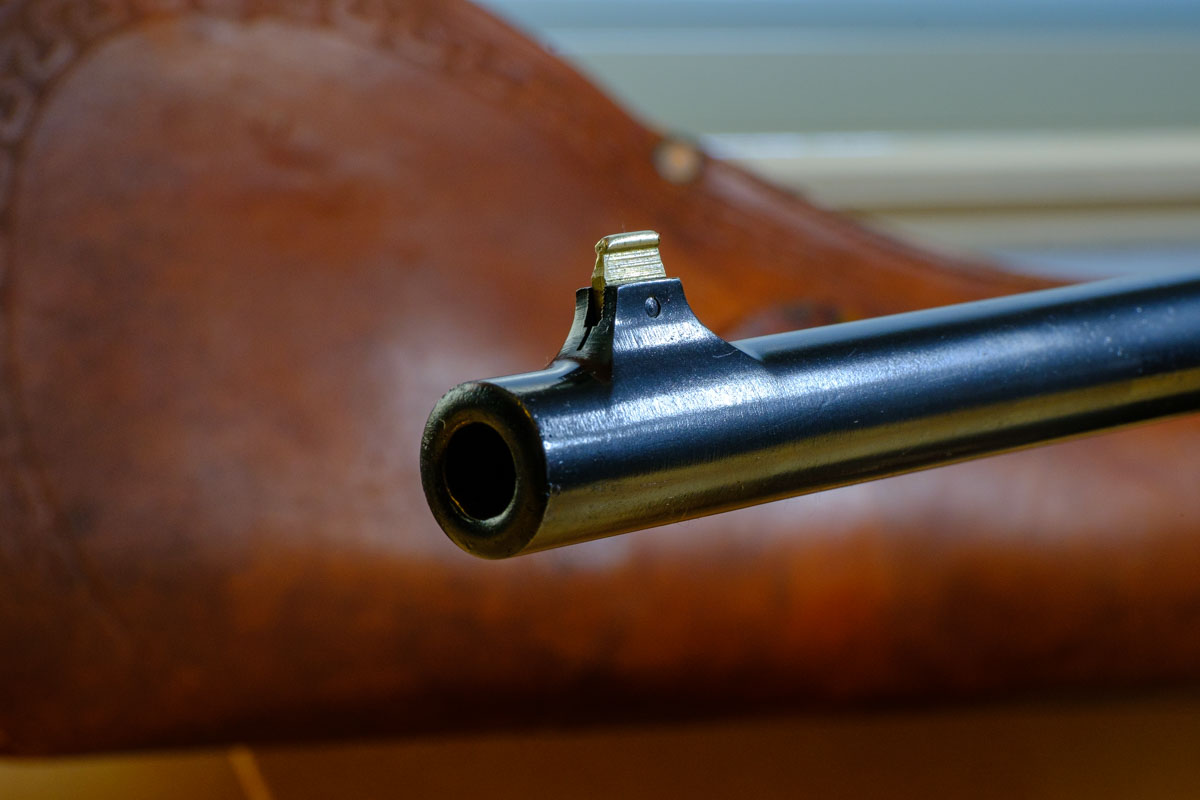
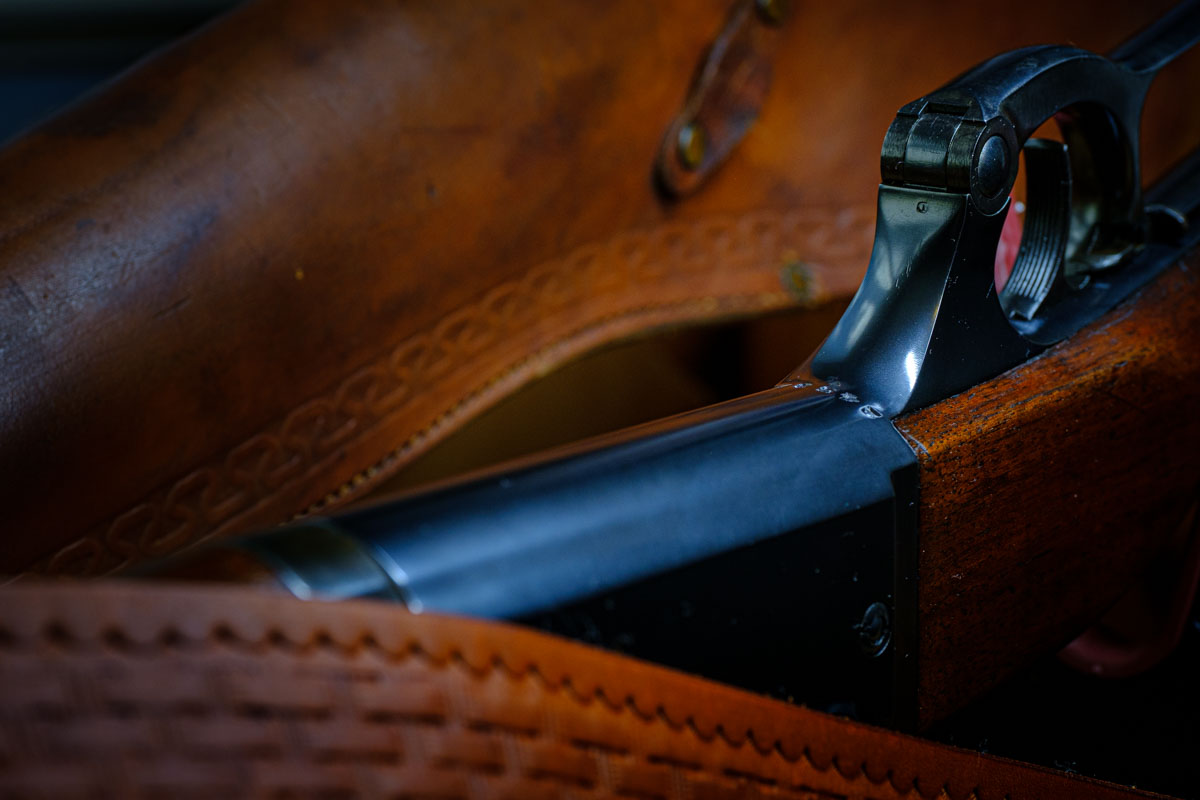
Here are some process photos.
Results
I confess that this post was an afterthought. I have another project around the corner that I’ll video to provide a better step by step. I must point out though, everything I did is in Bob and Mark’s video. They did an excellent job. Bob also provides instructions along with your order.